Start with the scarf and the neckline
A square scarf can look different depending on its size, fabric and the neckline beneath it. A smaller square usually sits close to the neck, making it useful with a crew neck, open shirt or simple dress. A larger square gives you more fabric to drape, but may need an extra fold to keep it from overwhelming the outfit. Before tying it, hold the scarf loosely around your neck to see where its ends fall.
Soft fabric tends to drape and make a relaxed knot; crisp fabric holds a more defined shape. Neither is better for every outfit. If you are learning a new fold, a scarf that is easy to handle will help you see what each step does. Leave enough room between the scarf and your neck to turn your head comfortably, and avoid pulling a knot tighter to make it stay in place.
Fold it into a triangle for a visible point
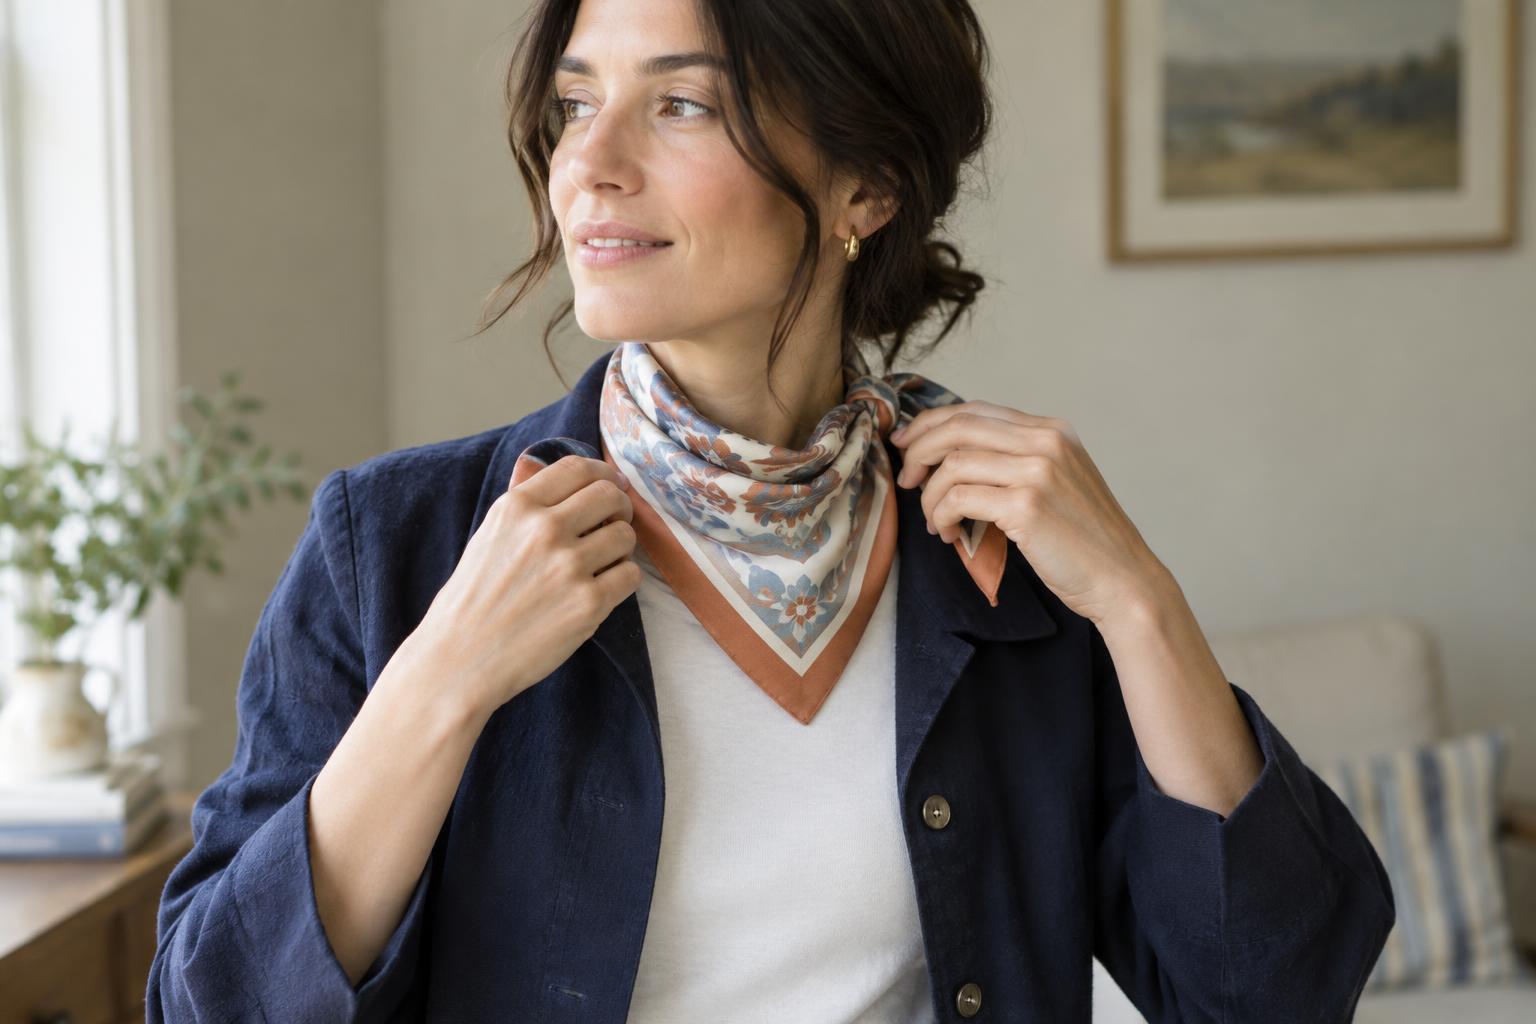
Lay the scarf flat and bring one corner to the opposite corner to make a triangle. For a neat edge, smooth the fabric from the centre outward. Place the long folded edge against the front of your neck, with the point hanging over your chest. Bring the two ends around the back of your neck and, if they reach comfortably, return them to the front. Tie them loosely beneath the point or slightly to one side.
This fold displays more of a scarf’s pattern than a narrow band does. It can fill the open space of a V-neck or an unbuttoned collar without adding another layer of clothing. If the triangle feels too large, fold the long edge over once or twice before putting it on. That shortens the visible point and adds a little structure near the neck.
Make a narrow band for a simple neck tie
To make a band, start with the scarf flat and fold two opposite corners toward the centre. Fold those new outer edges inward again, then continue until you have a strip at a width you like. You can also start with a triangle and roll or fold from its long edge toward the point. A folded band looks tidier; a gently rolled one usually looks softer.
Wrap the band around your neck and tie a single knot at the front or side. Let the ends hang separately, or add a second loose knot if there is enough length. With a collared shirt, try placing the band inside the open collar so only the knot and ends show. Over a plain top, wear it outside the neckline for a clearer accent. If the ends are uneven, loosen the knot and shift the band rather than tugging on one end.
Try an off-centre knot or a loose drape
For an off-centre knot, begin with a triangle or band and place one end slightly longer than the other. Tie a loose knot just below your jaw, then slide it to the side. This small adjustment keeps the scarf from looking too symmetrical and lets the ends rest beside, rather than directly over, the front of a shirt. Tuck short ends under the fold if you want a compact finish.
You do not always need a knot. A larger square folded into a triangle can rest around the back of your neck with its ends hanging down the front. This works best when the fabric has enough grip to stay where you place it and when the scarf will not get in the way of what you are doing. For a more secure drape, tie the ends loosely once, low on the chest.
Adjust the scarf to suit the outfit and the day
Use the fold to control how much colour and pattern you show. A narrow band adds a small accent to a patterned outfit, while a triangle gives a plain top more visual interest. You might pick up one colour already in your clothes, or choose a contrasting scarf and keep other accessories quieter. There is no need to match every colour exactly; the aim is an outfit that feels balanced to you.
Before leaving, check the scarf from the front and side. Make sure the knot is comfortable, the ends are clear of fastenings, and the fabric sits as intended when you move. If a fold slips, try a wider band, a different knot position or a scarf with a less slippery texture. After wearing it, loosen the knot rather than pulling it through tightly. Store the scarf according to its care label so it is ready to fold again.