Start by checking what needs repair
A loose button and a small seam split are useful first hand-sewing projects. Both repairs follow the garment’s existing construction, so you usually have a guide for where to sew. Before threading a needle, look closely at the area. Is the button still attached but wobbling, or has it come off entirely? Has the stitching opened along a seam, or is the fabric itself torn? A split in the stitching can often be closed by hand; damaged or fraying fabric may need a patch or a more substantial repair.
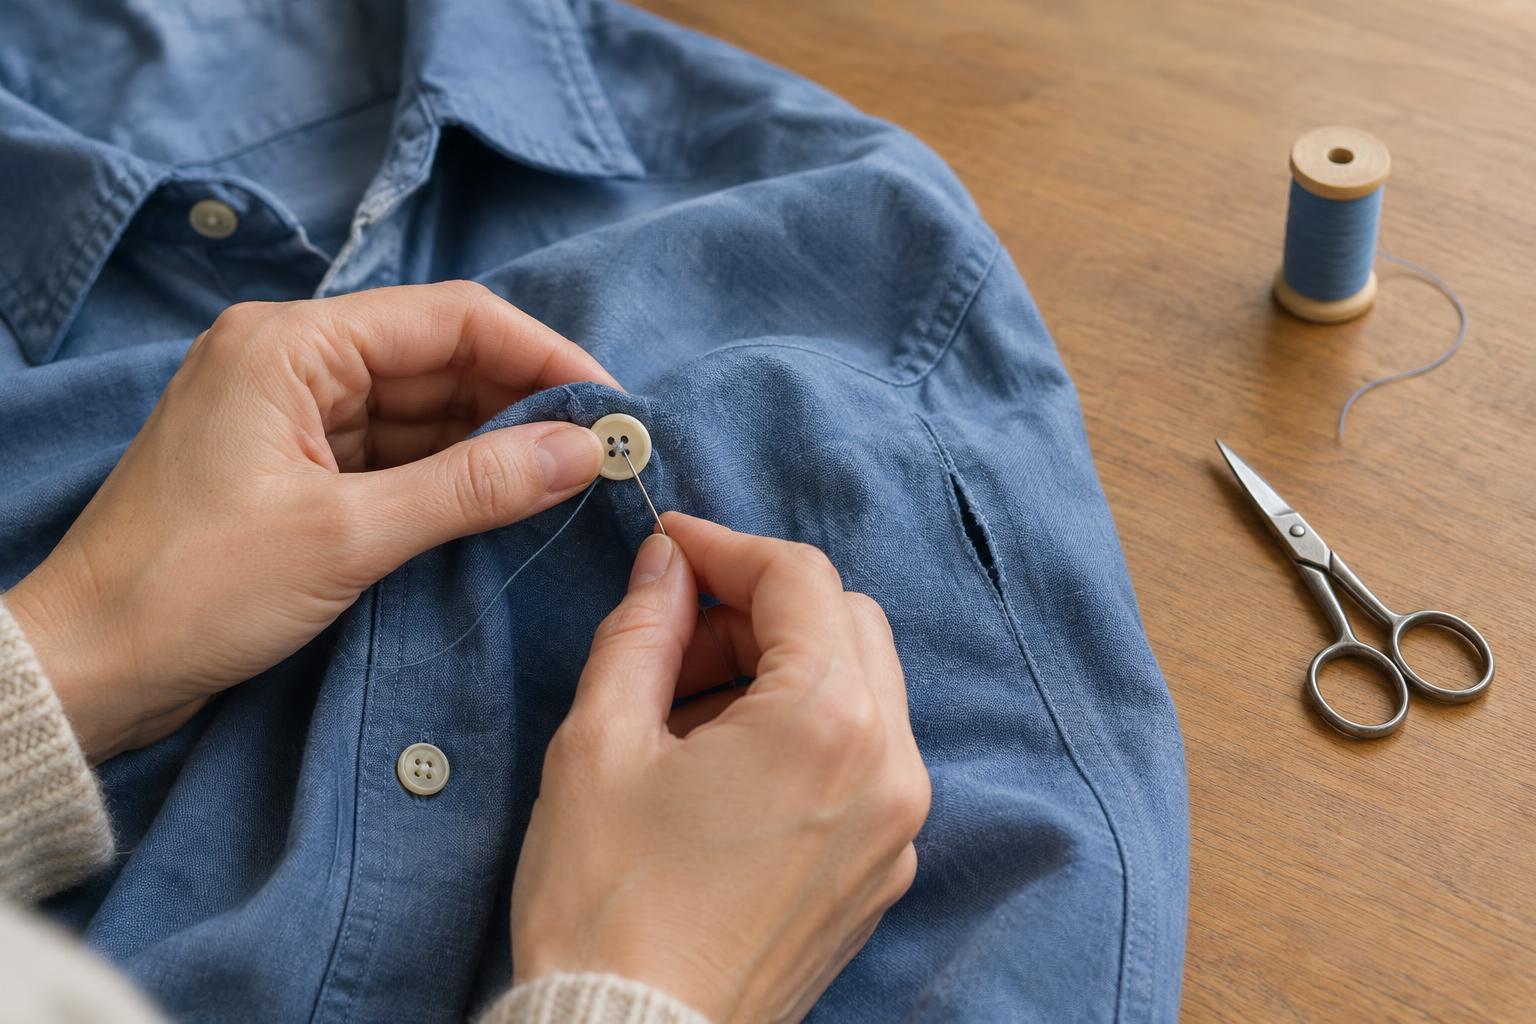
Gather a hand-sewing needle, matching thread, small scissors and good light. A pin or clip can help hold a seam in place. Choose a needle that passes through the fabric without forcing it, and thread that looks similar in colour and weight to the original stitching. If the garment is delicate, lined or difficult to handle, work slowly and test your stitches in a less visible spot first.
Prepare a loose or missing button
Check whether the original button has a shank, which is a small loop on its back, or holes through its face. If it is missing, look for a spare button inside the garment or choose one close in size and thickness. The button must fit its buttonhole comfortably: one that is too large may strain the fabric, while one that is too small may slip open. Find its original position by looking for old thread marks, or fasten neighbouring buttons and align the garment edges.
Cut a manageable length of thread and pass it through the needle. For extra strength, you can double the thread and knot the ends together. Remove loose old stitches without tugging at the fabric. If the cloth around the button is worn or torn, reinforce it before reattaching the button; sewing repeatedly through a weak spot will not make the attachment dependable.
Sew the button so it can fasten comfortably
Bring the needle up from the wrong side at the button’s position. For a button with holes, pass the needle through one hole, then down through another. Repeat through the same pair several times, keeping the button aligned with the others. On a four-hole button, sew through the second pair as well, following the pattern used on nearby buttons if you want a consistent appearance. For a shank button, pass the needle through its back loop and the fabric several times instead.
A flat button on thicker fabric needs a little space beneath it so the buttonhole can sit around it. Avoid pulling every stitch tight against the cloth. You can place a spare needle or toothpick across the button’s face while sewing, then remove it and wrap the thread a few times around the stitches beneath the button to form a small thread shank. Finish on the wrong side with a few small anchoring stitches or a knot, and trim the thread. Fasten the button once to check that it sits securely without pulling the garment out of shape.
Close a short split in an existing seam
Turn the garment inside out and smooth the split without stretching it. Identify the original seam line and check that the fabric edges are intact. If you can, begin stitching a little before the opening and finish a little beyond it; this helps connect the repair to the sound part of the seam. Pin or clip the layers together so their edges and any visible stripes or checks stay aligned. Take care not to catch a pocket, lining or other layer that was not part of the original seam.
Use small backstitches for a sturdy hand repair. Bring the needle up through both fabric layers, make a short stitch backward along the seam line, then bring the needle up a short distance ahead of that stitch. Continue by stitching back toward the previous stitch, keeping the spacing fairly even. The stitches should hold the layers together without puckering them. At the end, make a few small anchoring stitches on the wrong side and trim the thread. If the split is long or sits where the garment pulls tightly during wear, a larger repair may be more reliable.
Check the repair and look after it
Turn the garment right side out and examine the repaired area. The button should pass through its buttonhole without excessive force, and the seam should lie flat when the garment is worn normally. If either area puckers, the thread may have been pulled too tightly. It is often better to remove those stitches and try again than to leave a repair that strains the cloth.
Follow the garment’s care label when washing it, and check the repair afterward for loose threads. Keeping a small sewing kit with a needle, thread and spare buttons makes it easier to deal with minor problems before they grow. These simple repairs will not solve every kind of fabric damage, but they can help keep an otherwise wearable piece in your everyday wardrobe.