Why clothes shrink in the dryer
Shrinkage depends on the fabric, how the garment was made and what happened during washing as well as drying. Heat, moisture and movement can cause some fibres or fabric structures to contract. A garment may also change shape when a knit relaxes or a loosely woven fabric tightens. That is why two shirts made from the same type of fibre may not respond in exactly the same way.
The safest approach is not to look for one dryer setting that works for everything. Instead, check each garment’s instructions and choose a setting that limits heat and drying time where appropriate. Even clothes described as pre-shrunk can change fit with repeated laundering, so treat a favourite well-fitting piece with extra care.
Start with the care label
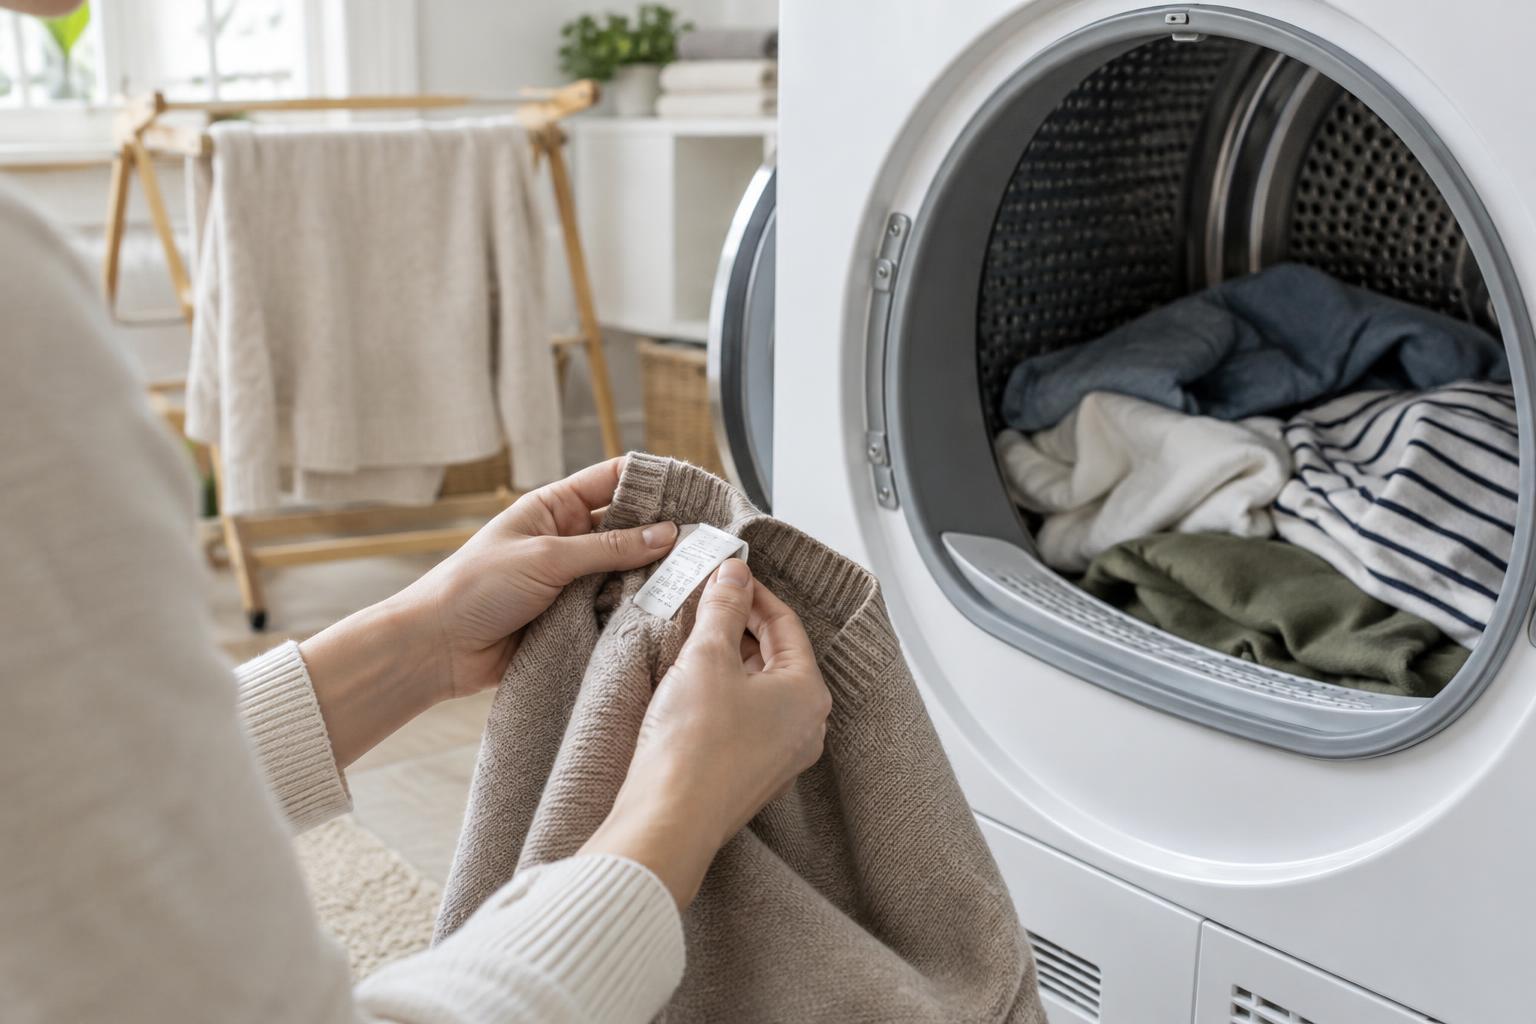
Before a garment goes in the dryer, look for its care label. A square containing a circle means tumble drying is permitted; a crossed-out version means it is not. Dots inside the circle indicate temperature guidance: one dot generally means low heat, while two indicate a higher or normal setting. If the label calls for air-drying or drying flat, follow that instruction rather than relying on a quick, cool dryer cycle.
When a label is missing or hard to read, consider the garment’s construction. Wool knits, silk, lace, garments with delicate trims and pieces made with fibres such as viscose or rayon may be particularly vulnerable to heat, movement or changes in shape. Air-drying is a cautious choice when you are unsure. An unheated dryer setting removes the heat risk, but the tumbling itself may still be unsuitable for a delicate item.
Sort loads and choose gentler settings
Separate garments by both care instructions and drying speed. Heavy towels and jeans often need longer than lightweight tops; drying them together can leave the lighter items tumbling after they are already dry. Give each load enough room to move rather than packing the drum tightly. A crowded load can dry unevenly, making it tempting to add more time than some pieces need.
For dryer-safe clothing that you want to protect, start with the lowest heat allowed by the label and a shorter cycle. Check the load, then add time only if needed. A low-heat setting is not a guarantee against shrinkage, but it can reduce exposure to the heat that may affect some fabrics. If your machine has a moisture-sensing option, it may help stop the cycle when clothes are dry; you should still check garments that matter especially to you.
Take clothes out before they over-dry
Repeatedly running a load until every item feels hot and crisp is rarely necessary. Remove dryer-safe garments when they are dry, or slightly damp if you have space to finish drying them properly. Hang woven shirts on suitable hangers, and lay knits flat if hanging would pull them out of shape. Smooth seams and hems with your hands while the fabric is still pliable.
Do not put damp clothes straight into a drawer or leave them bunched in a laundry basket. Give them enough airflow to dry completely first. If one thick item is still wet while the rest of the load is ready, take the dry pieces out and finish that item separately. This small habit protects the lighter clothes from an unnecessarily long cycle.
Know when to skip the dryer
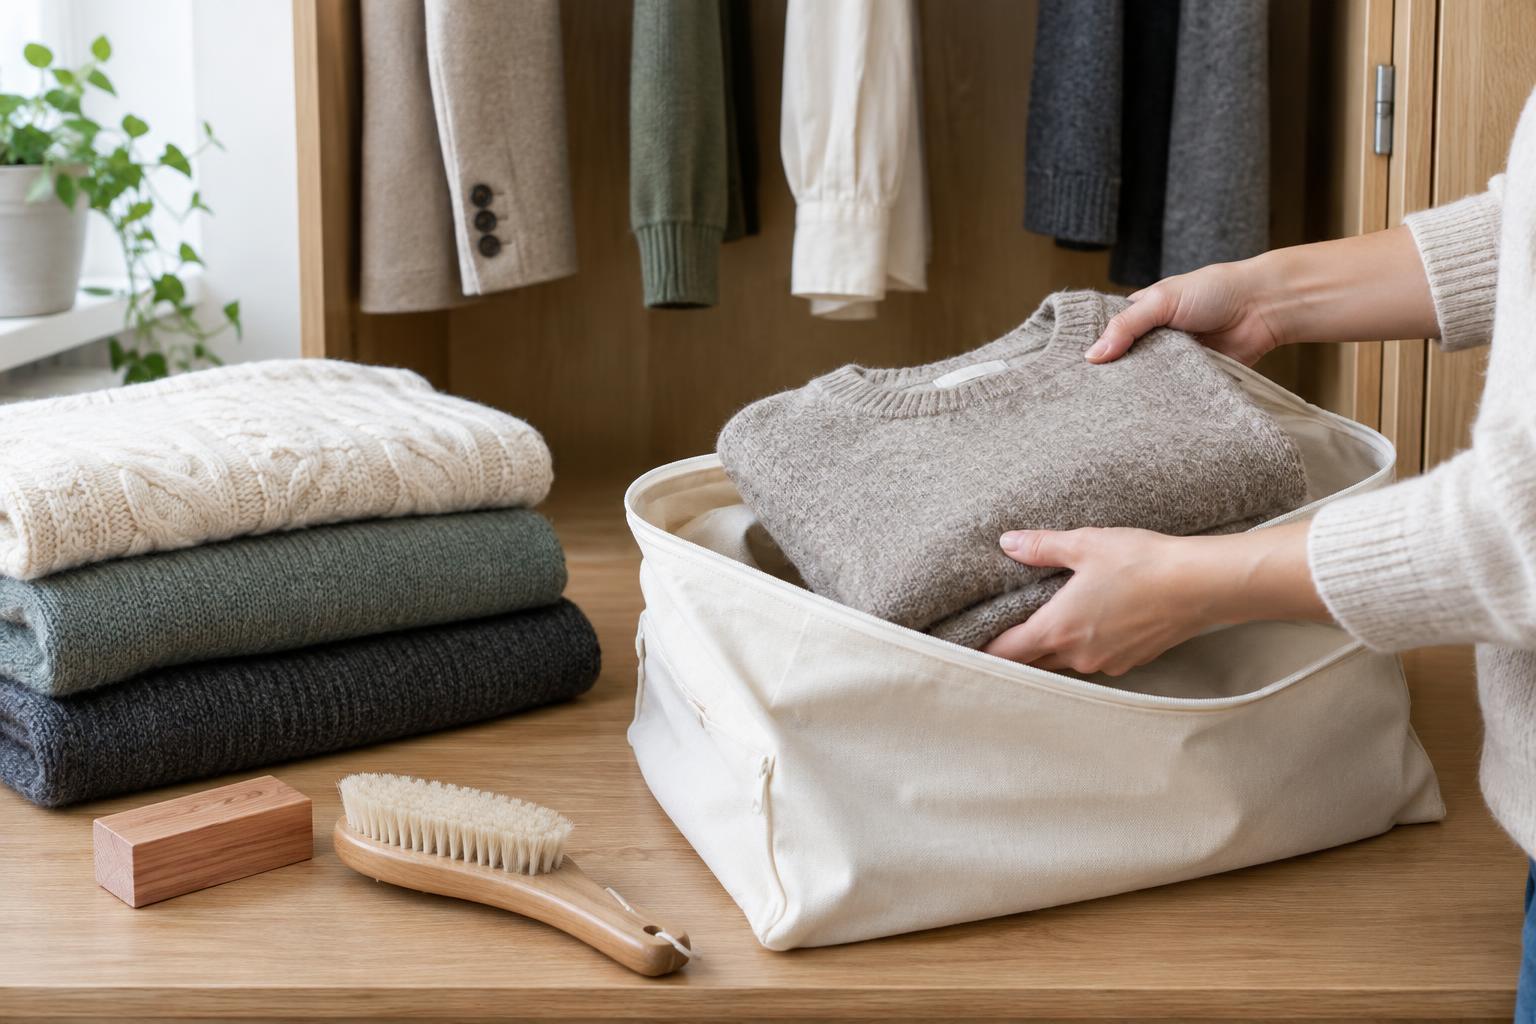
Some wardrobe favourites are worth the extra drying time. A wool jumper, a softly structured top or a garment whose fit is already close may be better dried according to its label without a tumble dryer. For pieces that need to dry flat, gently reshape them and place them on a clean, dry surface with airflow. Avoid stretching them into position or hanging a heavy wet knit by its shoulders.
To make the decision easier on laundry day, keep dryer-safe basics separate from items you plan to air-dry as soon as you unload the washing machine. You do not need an elaborate system: checking labels, using lower heat where permitted and removing clothes promptly will do much of the work. When preserving fit matters more than speed, let the care label—and the garment itself—guide you.